What Does Flour Do for Chicken Cutlets?
Crispy chicken cutlets are a universal crowd-pleaser—whether you’re hosting a casual dinner or meal prepping for the week. But, have you ever wondered why flour plays such a critical role in the cooking process? It’s not just a random first step in breading; there’s science and culinary tradition behind it. So, let’s dig into why flour is a star ingredient for perfect chicken cutlets. Spoiler alert: it’s about more than just sticking breadcrumbs to the chicken!
Understanding the Role of Flour in Cooking Chicken Cutlets
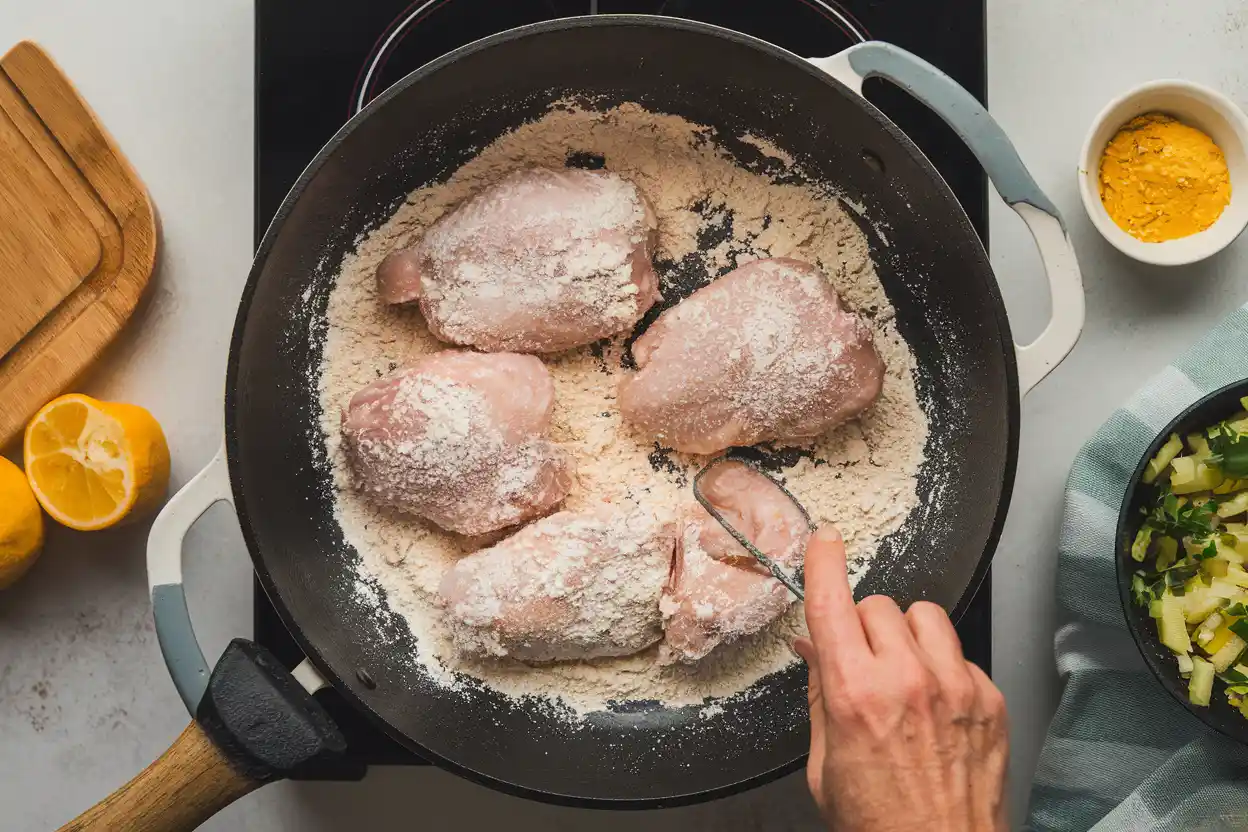
When you think of perfectly breaded chicken cutlets, the flour layer might seem like an afterthought. However, it’s actually the unsung hero of the process. Flour acts as a base coat, creating a smooth surface that helps bind other ingredients, like eggs and breadcrumbs, to the chicken.

Flour also adds a subtle foundation of flavor, giving you that light, savory note underneath the breading. Additionally, it interacts with heat to create a crisp texture, sealing in the juices of the chicken. Without flour, the coating might not adhere properly, leading to uneven breading—and nobody wants that!
For a variety of meal ideas, explore these delicious recipes that pair perfectly with chicken cutlets. Explore here
Importance of Using Flour in Chicken Cutlet Preparation
Flour isn’t just a convenience; it’s a necessity if you want to achieve that golden, crunchy crust. Many people skip this step, thinking it’s optional, but doing so often leads to disappointment. Why? Because flour does a few key things:
- Protects the chicken: Flour creates a barrier that locks in moisture, preventing the chicken from drying out during cooking.
- Even browning: The starch in flour caramelizes when fried, giving chicken cutlets that iconic golden-brown appearance.
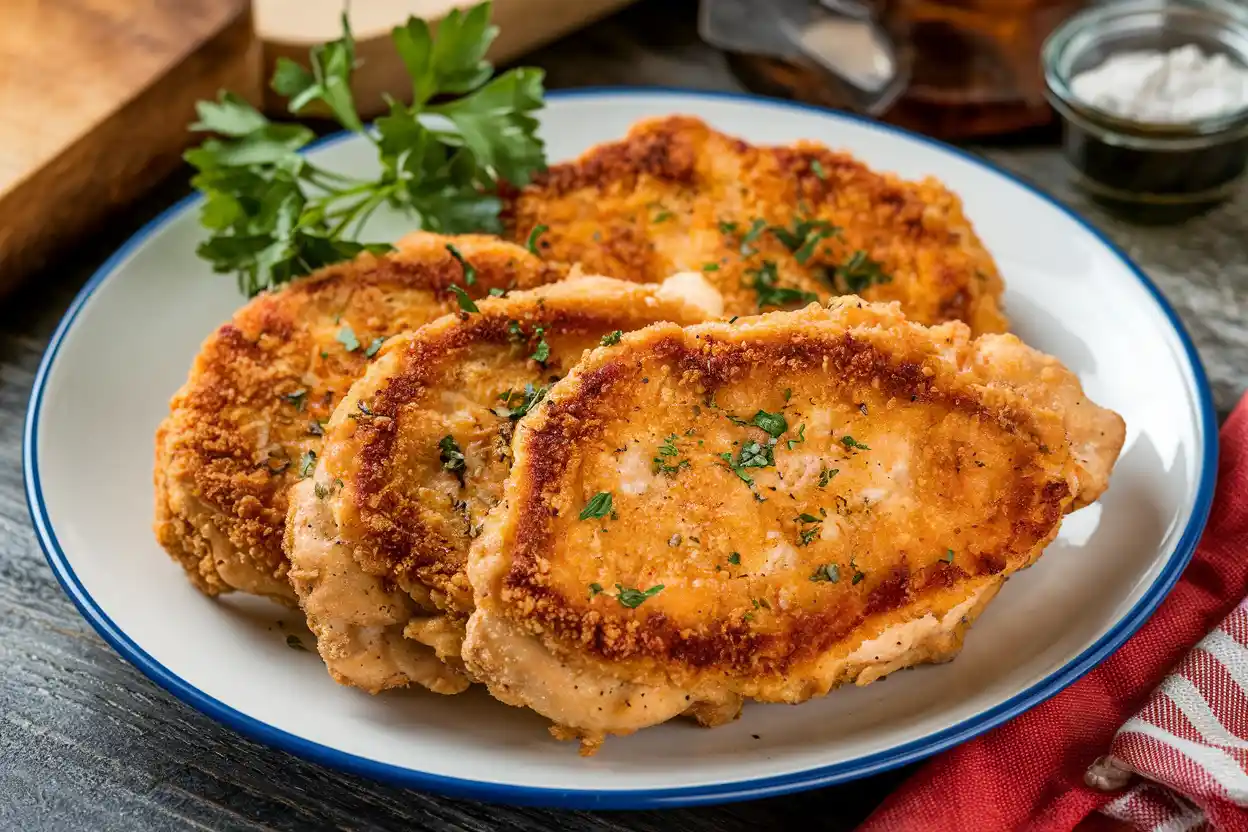
- Improves texture: Flour contributes to the overall crunch factor when paired with breadcrumbs.
Moreover, flour works as a neutral base, complementing any seasoning you choose to add.
How Flour Enhances Texture and Flavor
Flour’s role in texture and flavor might seem small, but it’s critical. The way flour interacts with heat creates a delicate crunch, especially when paired with breadcrumbs or panko. This crunch isn’t just satisfying—it also contrasts beautifully with the tender, juicy chicken inside.
Flavor-wise, flour absorbs seasoning like a sponge. So, whether you’re sprinkling it with salt, pepper, paprika, or garlic powder, those flavors will stick to the chicken throughout the cooking process. And the best part? Flour doesn’t overpower the natural taste of chicken—it enhances it subtly, letting the other ingredients shine.
Common Misconceptions About Using Flour
It’s easy to misunderstand the role of flour, especially with so many breading methods floating around. Here are a few myths debunked:
Try out these creative chicken cutlet recipes to add variety to your weekly menu. Creative recipes
- “You don’t need flour if you use breadcrumbs.” Not true! Flour is what makes breadcrumbs stick. Without it, you’ll have patchy breading.
- “All-purpose flour is the only option.” While AP flour is the most common, other types—like rice flour or cornstarch—can work for specific results.
- “Flour adds calories without value.” Sure, it adds a small calorie bump, but it also contributes texture, flavor, and moisture retention, making it totally worth it.
Who Benefits from Mastering Chicken Cutlet Techniques?
Everyone! Whether you’re a home cook looking to elevate family dinners or a foodie who loves exploring new techniques, mastering chicken cutlets can enhance your culinary skills. Flour-based breading isn’t just for professionals; it’s approachable and achievable, even for beginners.
Families, in particular, can benefit because chicken cutlets are versatile—they work in sandwiches, pasta dishes, or as a stand-alone protein. Plus, this technique is budget-friendly and kid-approved. And if you’re meal prepping? Breaded chicken cutlets freeze like a dream.
Flour’s Role in Popular Culinary Practices
Flour-coated chicken cutlets are not just a staple in American kitchens. They’re a cornerstone of global cuisines, each adding its own twist:
- Italian: Chicken cutlets with flour are the base for chicken parmesan, where they’re topped with marinara and melted cheese.
- Japanese: Think katsu—a dish where panko-coated chicken is served with a tangy dipping sauce.
- Southern Fried Chicken: Flour is used with spices for a thicker, crunchier crust.
Clearly, flour transcends borders, proving its versatility and importance in the culinary world.
Looking for something different? These smoked chicken legs and thighs are a great alternative. Smoked chicken recipe
Why Do You Put Flour on Chicken Cutlets?
Flour is more than just a step in the breading process—it’s the secret weapon that turns ordinary chicken cutlets into a crispy, flavorful masterpiece. But why exactly is it so important? The answer lies in its unique properties that create the foundation for perfect breading. From ensuring breadcrumbs stick to achieving that golden crunch, flour is essential for success. Let’s break down the science and techniques behind its magic.
The Science Behind Flour’s Adhesive Properties
When you coat chicken in flour, you’re creating an even layer that acts like double-sided tape for the egg wash and breadcrumbs. The starch molecules in flour absorb moisture from the chicken’s surface, forming a light, sticky layer. This layer is crucial because it allows the egg to adhere properly. Without it, the egg wash would just slide off, and your breadcrumbs wouldn’t have anything to grab onto.
In addition, flour helps to seal the chicken’s natural juices, preventing it from becoming dry during cooking. This combination of moisture retention and adhesive properties is why flour is a non-negotiable step.
How Flour Creates a Crispy and Even Coating
Flour doesn’t just help breadcrumbs stick—it also contributes to the crunch we all love. When exposed to heat, the starches in flour caramelize, forming a delicate crust. This crust serves two purposes:
- Texture: It creates the crispy outer layer that complements the tender chicken inside.
- Protection: It shields the chicken from direct heat, allowing for even cooking.
Moreover, an even flour coating ensures uniformity, so you won’t end up with soggy spots or overcooked areas.
The Interaction Between Flour, Egg, and Breadcrumbs
Think of flour, egg, and breadcrumbs as the dream team of breading. Here’s how they work together:
- Flour: Creates the base layer that helps the egg adhere.
- Egg: Acts as the glue, holding the breadcrumbs in place.
- Breadcrumbs: Provide the final layer of texture and flavor.
Skipping any one of these steps can throw off the entire process. For instance, if you skip the flour, the egg won’t stick well, and your breadcrumbs might fall off during frying.
Common Mistakes When Flour Coating Chicken

Even though flouring chicken seems straightforward, a few common mistakes can lead to less-than-perfect results. Avoid these pitfalls:
- Using wet chicken: Excess moisture can cause the flour to clump, leading to an uneven coating. Pat the chicken dry with paper towels before starting.
- Not seasoning the flour: Unseasoned flour results in bland chicken. Always add salt, pepper, and other spices to boost flavor.
- Overcoating: Too much flour can make the breading heavy and mask the chicken’s flavor. Shake off any excess before proceeding.
Avoid mistakes by exploring this flavorful Galena chicken recipe for a foolproof dinner option. Galena chicken recipe
Step-by-Step Guide to Properly Flour Chicken Cutlets
Mastering the flouring process is easier than you think. Follow these steps for flawless chicken cutlets every time:
Choosing the Right Type of Flour for the Best Results
While all-purpose flour is the go-to choice, there are other options to consider depending on your preferences:
- All-purpose flour: Versatile and widely available, it’s perfect for standard breading.
- Rice flour: Produces an extra-crispy crust, ideal for gluten-free diets.
- Cornstarch: Creates a light, airy coating often used in Asian-inspired dishes.
Preparing Chicken Cutlets for Flour Coating
Preparation is key to a smooth breading process. Start by trimming any excess fat from the chicken and pounding it to an even thickness. This ensures the chicken cooks evenly and avoids undercooked centers. Next, season both sides generously with salt, pepper, and your favorite spices.
Tips for Achieving an Even and Smooth Coating
A smooth, even coating is the hallmark of professional-quality chicken cutlets. To achieve this:
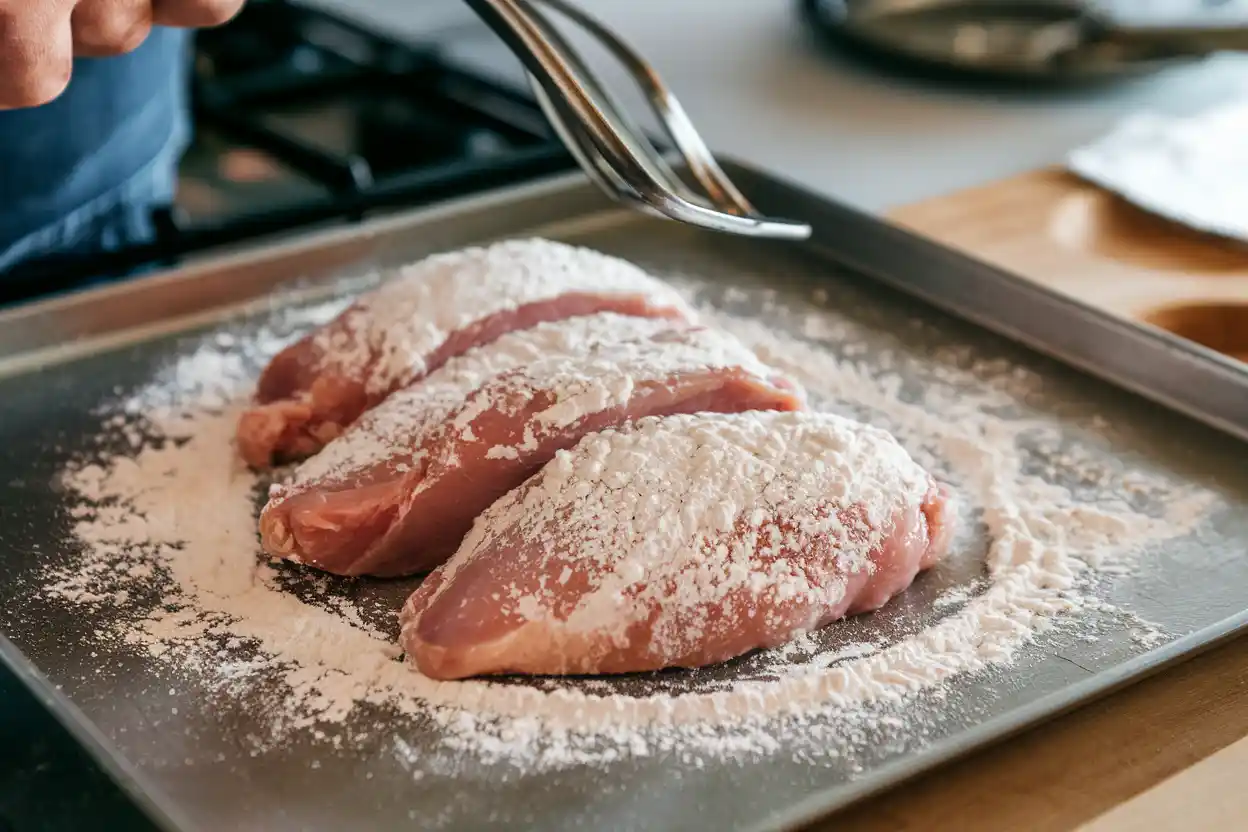
- Use a shallow dish for the flour: This allows you to coat the chicken evenly without making a mess.
- Work with one piece at a time: Coating multiple pieces at once can lead to clumping.
- Shake off excess flour: Too much flour can create a pasty texture instead of a crisp crust.
Additionally, keep one hand dry and one hand wet while breading to avoid creating a sticky mess.
Flour is more than just a functional ingredient—it’s the foundation of crispy, golden chicken cutlets. With the right techniques and a little attention to detail, you can elevate your cutlets to restaurant-level perfection.
Perfecting Chicken Cutlets with Flour Coating Techniques
There’s nothing quite like biting into a perfectly breaded chicken cutlet. That crispy exterior paired with tender, juicy chicken inside? Absolute heaven. However, getting it right involves more than just following a recipe. The breading order, moisture levels, and even the frying process all play a role in the outcome. Let’s dive into the techniques that will help you achieve flawless chicken cutlets every time.
Do You Put the Egg or Flour First?
If you’ve ever wondered about the correct order of breading chicken cutlets, you’re not alone. The sequence is essential for ensuring the coating sticks and fries evenly. So, what goes first—flour or egg? The answer: flour comes first, followed by egg, and then breadcrumbs.
The reasoning is simple. Flour provides a dry base that helps the wet egg adhere to the chicken. Without this step, the egg wash would slide right off, taking the breadcrumbs with it. Once the egg sticks to the flour, the breadcrumbs have something to cling to, completing the perfect breading process.
A Breakdown of the Proper Breading Order
Here’s the step-by-step breading sequence for chicken cutlets:
- Flour: Lightly coat the chicken in seasoned flour, shaking off any excess.
- Egg Wash: Dip the floured chicken into a mixture of beaten eggs and a splash of milk or water.
- Breadcrumbs: Press the chicken into breadcrumbs, ensuring a thorough coating on all sides.
This process might sound simple, but each step is crucial for that crisp, golden crust we all love.
How to Prevent Flour Coating from Falling Off
One of the most frustrating moments in the kitchen is when your carefully applied coating falls off during cooking. To prevent this:
- Pat the chicken dry: Moisture is the enemy of adhesion. Use paper towels to dry the chicken before coating.
- Chill the breaded cutlets: After breading, let the chicken rest in the fridge for 20–30 minutes. This helps the coating set and reduces the risk of it peeling off during frying.
- Avoid overcrowding the pan: Too many cutlets in the pan can lower the oil’s temperature, causing the breading to stick to other pieces instead of the chicken.
Common Challenges and Solutions in Breading
Even seasoned cooks face challenges when breading chicken. Here are some common issues and how to fix them:
- Breading slides off: This often happens if the cutlets are too wet or if the oil isn’t hot enough.
- Uneven coating: Ensure each layer (flour, egg, breadcrumbs) is applied evenly and shake off excess.
- Soggy breading: Use enough oil and maintain a consistent frying temperature to prevent the cutlets from absorbing too much grease.
How Do You Get Chicken Cutlet Breading to Stick?
Breading adhesion is all about preparation and technique. Here are some tips to make sure your breading stays put:
Tips for Ensuring Breading Adherence Throughout Cooking
- Start with seasoned flour: Adding salt, pepper, and other spices to the flour layer creates flavor and texture while improving stickiness.
- Press the breadcrumbs firmly: Gently press the breadcrumbs into the chicken to help them adhere better.
- Don’t skip the egg wash: The egg layer acts as a crucial “glue” that holds the breadcrumbs in place.
Role of Moisture in Successful Flour Coating
Moisture can be a double-edged sword. While too much moisture can ruin the coating, a slight dampness on the chicken’s surface helps the flour stick initially. Pat the chicken dry, but don’t overdo it—leaving just a touch of natural moisture can make all the difference.
Troubleshooting Breading Issues in Chicken Cutlets
If your breading still won’t stick, here are some quick fixes:
- Use cornstarch: Mixing a little cornstarch with flour can improve adhesion.
- Try double-dipping: Coat the chicken in flour, then egg, then flour again before adding breadcrumbs.
- Adjust oil temperature: If the oil is too cool, the breading will absorb grease and fall apart. Keep it at 350–375°F for best results.
Final Thoughts and Recommendations for Cooking Chicken Cutlets

Perfecting chicken cutlets takes a bit of practice, but it’s worth every effort. From nailing the breading order to maintaining the right frying temperature, each step contributes to that satisfying crunch and juicy interior. Don’t be afraid to experiment with different flours or breadcrumbs to find your signature style. With these tips and techniques, you’ll be whipping up restaurant-quality cutlets in no time.
Pair your perfectly breaded chicken cutlets with this honey garlic chicken recipe for a sweet and savory twist. Honey garlic chicken
FAQs About Flour and Chicken Cutlets
Chicken cutlets are a fan favorite, but questions often arise when it comes to the role of flour and the breading process. To make things easier, we’ve compiled answers to some of the most frequently asked questions about preparing perfect chicken cutlets.
What Does Adding Flour to Chicken Do?
Adding flour to chicken helps create a dry, even base that allows other ingredients—like egg wash and breadcrumbs—to stick effectively. It also plays a significant role in texture and flavor, forming a crispy crust when fried. Furthermore, flour helps seal in the chicken’s natural juices, keeping it tender and moist during cooking.
Why Do You Put Flour on Chicken Cutlets?
Flour is an essential first step in breading chicken cutlets because it ensures proper adhesion of the egg and breadcrumbs. Without it, the breading might fall off during frying. Additionally, flour contributes to the golden-brown color and satisfying crunch that make chicken cutlets so irresistible.
Do You Put the Egg or Flour First
The correct order is to coat the chicken in flour first, followed by egg, and then breadcrumbs. The flour acts as a dry base that allows the egg to stick, while the egg layer helps the breadcrumbs adhere. This three-step process ensures a uniform, crispy coating that stays in place during cooking.
How Do You Get Chicken Cutlet Breading to Stick?
Getting breading to stick requires the following steps:
- Pat the chicken dry: Moisture can interfere with the flour’s ability to adhere.
- Chill before frying: After breading, refrigerate the cutlets for about 20–30 minutes to set the coating.
- Avoid overcrowding the pan: Cook a few pieces at a time to prevent breading from peeling off.
For an extra-strong bond, try double-dipping: coat the chicken in flour, then egg, then flour again before adding breadcrumbs.
Can You Make Chicken Cutlets Without Flour?
Yes, you can make chicken cutlets without flour, but the breading may not stick as well. Some alternatives include using cornstarch, almond flour, or even skipping the breading altogether for a lighter dish. However, flour remains the most reliable option for creating a crispy, golden crust.
What Types of Flour Work Best for Chicken Cutlets?
The type of flour you use can affect the texture of your chicken cutlets:
- All-purpose flour: A classic choice for a smooth and crispy coating.
- Rice flour: Creates an ultra-crispy texture, great for gluten-free options.
- Cornstarch: Provides a light, airy crust, often used in Asian-inspired recipes.
Each type offers a unique result, so feel free to experiment to find your favorite.
Is Gluten-Free Flour a Good Alternative for Chicken Cutlets?
Absolutely! Gluten-free flours, like rice flour or chickpea flour, can work beautifully as a substitute for traditional flour. They provide a similar crispy texture without compromising flavor, making them ideal for those with gluten sensitivities or dietary restrictions.
These FAQs should address most of your chicken cutlet concerns, but don’t hesitate to experiment in your kitchen. Cooking is all about finding what works best for you and your taste buds!

