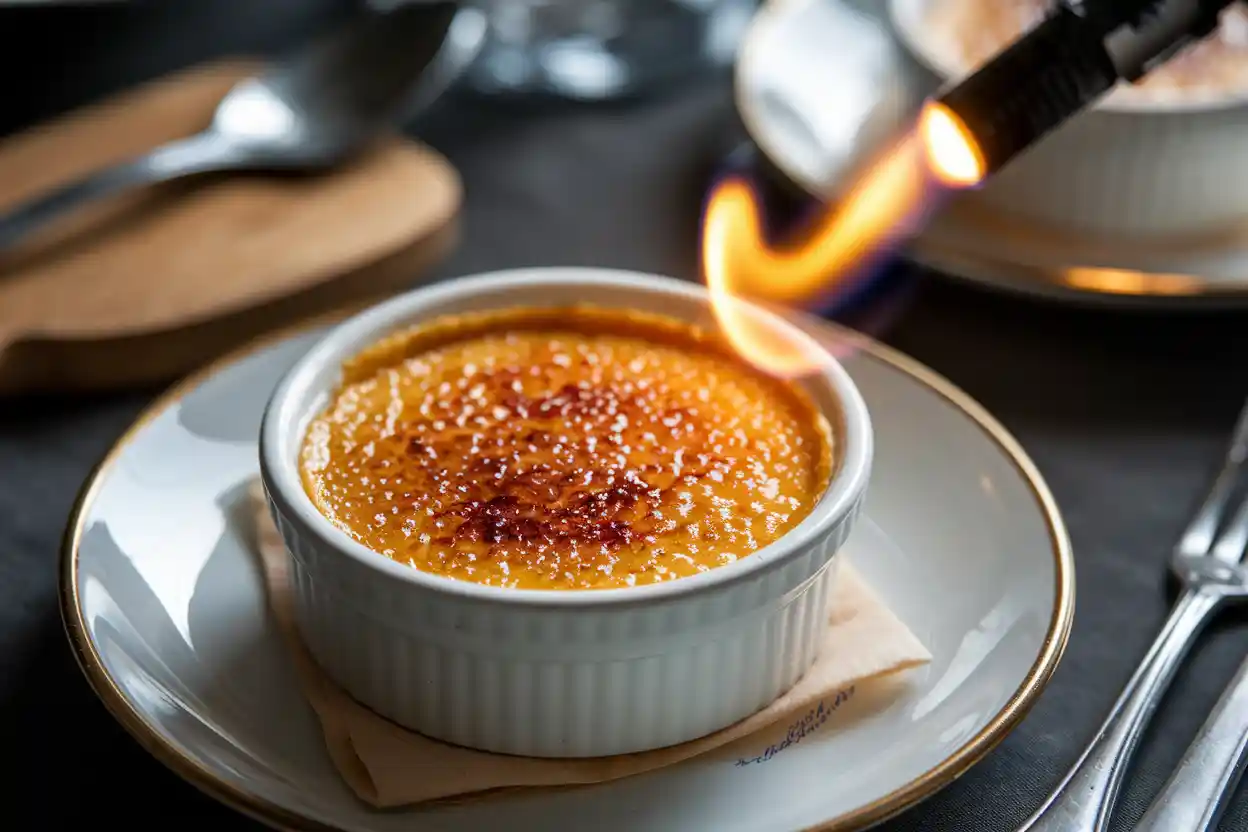
The Art of Creating the Perfect Crème Brûlée Topping
Best Brûlée Topping—just saying it feels fancy, right? It’s one of those desserts that somehow manages to be both simple and impossibly elegant.
But, let’s be honest: the star of this classic dish is that perfectly caramelized, glassy topping—the kind you can tap with a spoon to reveal the creamy custard below. Achieving this crunchy layer isn’t just a matter of sprinkling sugar and calling it a day; it’s an art form.
So, whether you’re a home cook dabbling in desserts or a foodie who just loves learning how things are made, stick around. We’re breaking down everything you need to know about crafting that golden, shatter-worthy crust.
What Defines the Ideal Crème Brûlée Top?
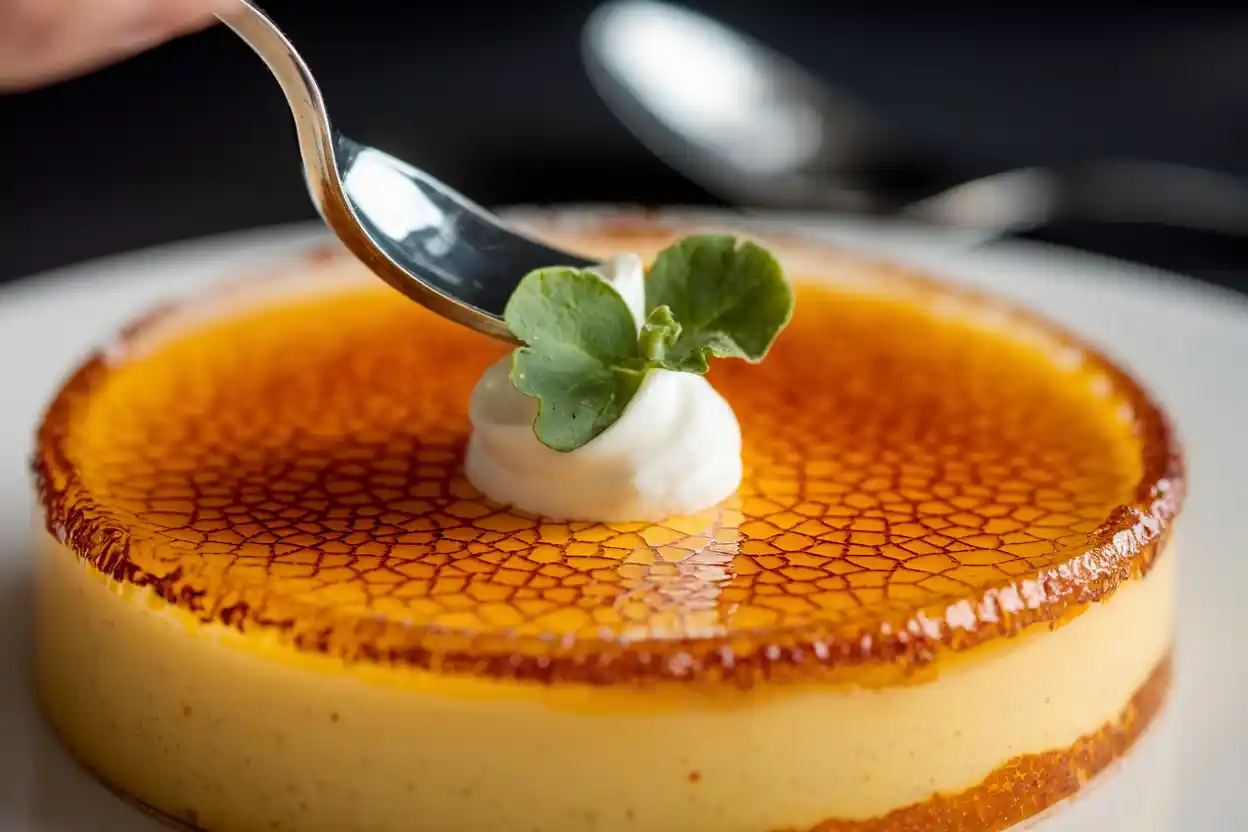
The Balance Between Crunch and Caramelization
Imagine biting into a dessert and hearing that satisfying crack before the sweetness melts in your mouth. That’s the magic of a proper brûlée topping! To get it just right, the sugar layer needs to be thin enough to caramelize evenly but substantial enough to hold its crunch. Too much sugar? You’ll end up with a burnt mess. Too little? It won’t deliver that signature snap. The goal is a thin, golden sheet of caramel that’s crunchy without being bitter.
For this balance, the timing is everything. Caramelization happens when the sugar melts and browns under intense heat. However, it’s a delicate dance—too much heat and you’ll cross into the dreaded burnt territory, but too little and your sugar stays gritty.
Why Texture and Flavor Matter
A great brûlée isn’t just about how it looks (although that caramel sheen is seriously Instagram-worthy). The topping’s crunch provides a contrast to the custard’s silky smoothness, making each bite a little adventure for your taste buds. Flavor-wise, caramelization brings out nutty, slightly smoky notes that enhance the dessert without overpowering the custard’s vanilla base.
In short, the topping isn’t just a garnish—it’s a crucial part of what makes perfect crème brûlée topping such a beloved dessert.
Who Can Master Crème Brûlée Topping?
Home Cooks vs. Professional Chefs
Here’s the good news: anyone can nail this! Yes, even if you’ve never wielded a kitchen torch in your life. Sure, professional chefs may have access to industrial-grade tools and years of experience, but home cooks can achieve the same results with the right techniques and a bit of patience.
One of the biggest differences lies in practice. Chefs might caramelize dozens of brûlées a day, perfecting their craft over time. But as a home cook, you have the advantage of experimenting at your own pace—no restaurant rush, no pressure.
Common Misconceptions About Making the Topping
Let’s debunk some myths while we’re here:
- Myth #1: You need fancy equipment.
Not true! While a kitchen torch is handy, your oven’s broiler can do the trick in a pinch. - Myth #2: Burnt sugar equals a good brûlée.
Absolutely not. Caramelized, yes. Burnt? That’s a no-go. Bitter sugar ruins the dessert. - Myth #3: It’s impossible to get it right on the first try.
Okay, it might take a little practice to perfect, but it’s not rocket science. Follow some key steps (which we’ll get into later), and you’ll be brûlée-ing like a pro in no time.
A Brief History of Crème Brûlée
Before we dive into techniques, let’s take a quick trip back in time.
Evolution of the Caramelized Topping Technique
Perfect crème brûlée topping has a long, somewhat mysterious history. While the French claim it as their own, similar desserts popped up in England (as “Trinity Cream”) and Spain (as “Crema Catalana”) around the same time. The one thing they all share? A caramelized sugar top.
For a unique twist, consider trying a Crab Brûlée Recipe, which combines the creamy texture with savory elements for a surprising variation.
Back in the day, the topping wasn’t made with a sleek torch—it was often done with a hot iron called a “salamander.” Chefs would heat the iron and press it onto the sugar, melting it into that signature crust. Thankfully, we’ve come a long way since then, and modern tools make the process much simpler (and safer!).
The topping technique itself evolved as sugar became more accessible. In the past, this dessert was a treat for the elite, but today, it’s enjoyed in kitchens and restaurants around the globe. The secret to its enduring popularity lies in that magical contrast of textures—a tradition we continue to perfect with every spoonful.
Understanding the Components of Crème Brûlée Topping
Creating the perfect crème brûlée topping is as much about science as it is about skill. By understanding the ingredients and tools at play, you’ll have a better chance of mastering this delicate art. Let’s break it down into the key components and techniques.
The Role of Sugar in Creating a Crisp Finish
Sugar isn’t just sweet—it’s transformative. When exposed to high heat, sugar melts and caramelizes, turning into that golden, glass-like crust we all adore. But not all sugars are created equal, and choosing the right type can make or break your brûlée experience.
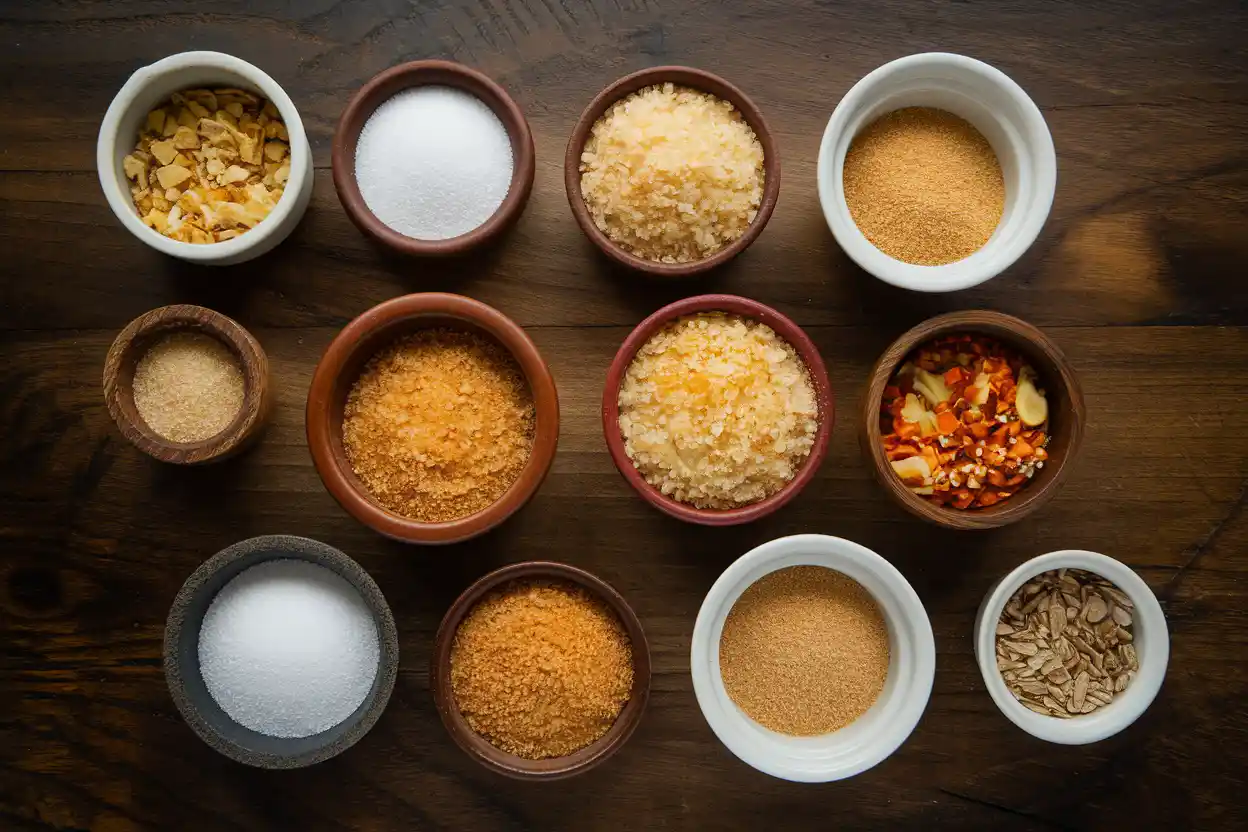
For example, white granulated sugar is the go-to choice for most recipes because it caramelizes evenly and quickly. It also produces that signature glassy finish without introducing any unwanted flavors. On the other hand, alternative sugars like turbinado or demerara can add a hint of molasses and a deeper caramel flavor. However, these coarse sugars may take longer to caramelize and might require more careful heat control.
Types of Sugar to Use (Granulated, Turbinado, etc.)
Here’s a quick cheat sheet for your sugar options:
- Granulated Sugar: Standard choice, melts evenly, easy to work with.
- Turbinado Sugar: Coarser texture, offers a richer flavor, but may need extra heat.
- Brown Sugar: Adds a deep, molasses-y flavor, though it can be trickier to caramelize without burning.
- Powdered Sugar: Avoid this—it doesn’t caramelize properly and tends to clump.
The sugar you choose will ultimately affect both the flavor and texture of your topping, so it’s worth experimenting to find your perfect match.
The Importance of Even Heat Distribution
Heat is the unsung hero of caramelization. Without it, your sugar would remain gritty and raw—a far cry from the glossy topping you’re aiming for. Achieving even heat distribution ensures that the sugar melts uniformly, avoiding those frustrating burnt spots or patches of uncaramelized granules.
This is where your tools come into play. A kitchen torch allows for precise control, letting you target specific areas to achieve consistent results. Broilers can work too, but they tend to heat unevenly, making it trickier to get that perfect finish.
How Caramelization Science Works
Let’s get nerdy for a second. Caramelization is a chemical process that occurs when sugar is heated to around 340°F (170°C). At this temperature, the sugar molecules break down and recombine, creating a rich array of flavors and a golden-brown color.
However, caramelization is a double-edged sword. Go a few degrees too hot, and you’ll end up with burnt sugar—which is bitter and unpleasant. To avoid this, you need to keep a close eye on your sugar as it heats, stopping just as it reaches that perfect golden hue.
Key Tools for Making the Perfect Brûlée Topping
Having the right tools can mean the difference between a flawless brûlée and a burnt disaster. Let’s go over the essentials.
Choosing the Right Torch
A kitchen torch is the most popular tool for caramelizing perfect crème brûlée topping. It provides direct, controllable heat, allowing you to caramelize the sugar evenly without heating the custard underneath.
When shopping for a torch, look for one with:
- Adjustable flame control.
- A refillable fuel tank (butane is the standard).
- An ergonomic design for easy handling.
Some popular models include the Iwatani and Sondiko torches, both of which are reliable and beginner-friendly.
Comparing Kitchen Torches vs. Broilers
If you don’t have a kitchen torch, don’t panic—a broiler can work too! However, it comes with its own set of challenges.
- Kitchen Torches: Precise, easy to use, minimal risk of overheating the custard.
- Broilers: Can caramelize multiple servings at once, but heat can be uneven and harder to control.
For beginners, a torch is the way to go. But if you’re in a pinch, the broiler is a decent backup option—just keep an eye on your brûlées as they caramelize.
Heat-Resistant Dishes and Their Impact
Let’s talk about ramekins. These little dishes aren’t just cute—they’re also practical. Ramekins are made from heat-resistant materials like ceramic or glass, which helps distribute heat evenly during the brûlée process.
Make sure your ramekins have a wide surface area to give your brûlée topping enough space to shine. Shallow dishes work best, as they allow for a thin layer of custard topped with a generous sheet of caramelized sugar.
Techniques for Making Crème Brûlée Hard on Top
Now that we’ve covered the ingredients and tools, let’s dive into the nitty-gritty of creating that perfect crust.
How to Distribute Sugar Evenly
An even layer of sugar is the foundation of a great brûlée topping. To achieve this:
- Spoon a small amount of sugar onto the custard.
- Tilt and rotate the ramekin to spread the sugar evenly.
- Gently tap out any excess sugar to avoid clumps.
This step might seem minor, but it’s crucial for ensuring that the sugar caramelizes uniformly.
Step-by-Step Process of Torch Usage
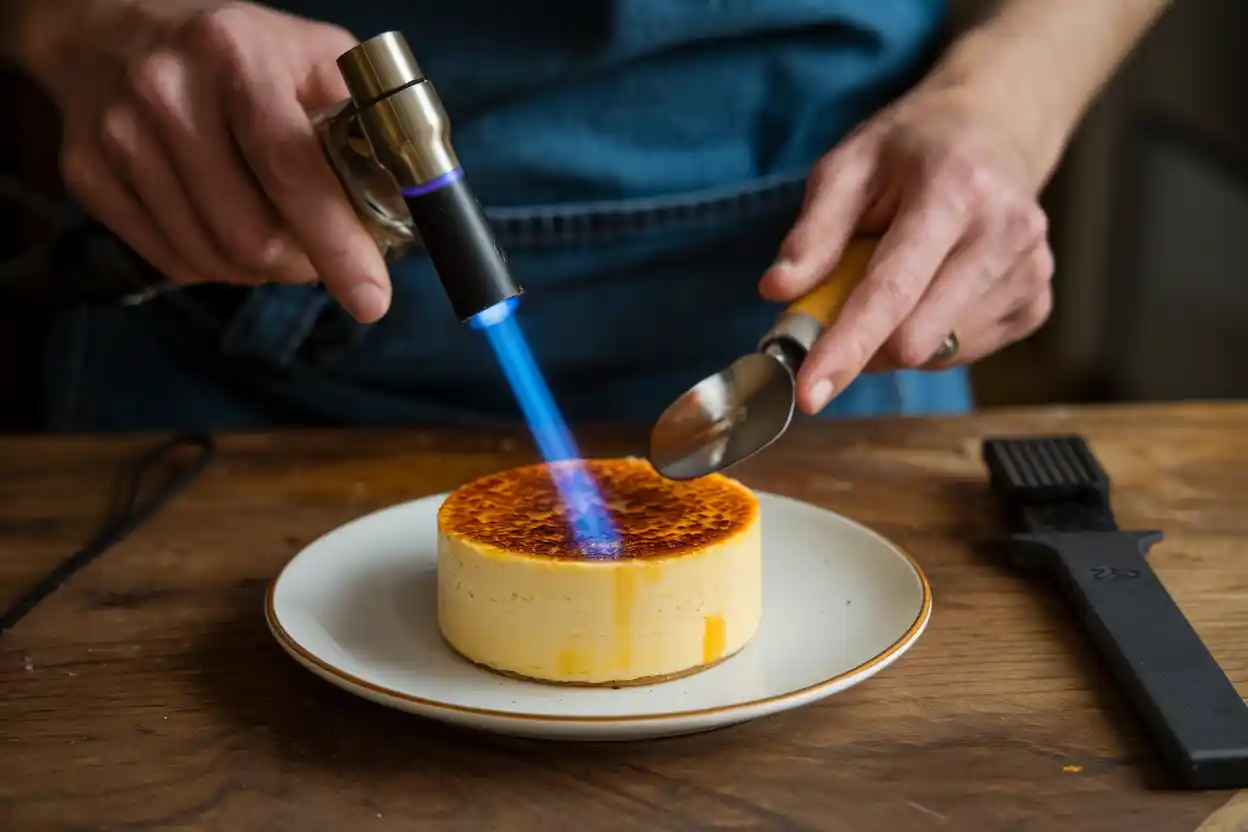
Using a torch can be intimidating at first, but it’s easier than you think. Follow these steps:
- Hold the torch about 2–3 inches from the sugar layer.
- Move the flame in a circular motion to avoid overheating any one spot.
- Watch as the sugar melts, bubbles, and browns. Stop once it reaches a golden, glassy finish.
Remember, patience is key. It’s better to take your time than to rush and burn the sugar.
Timing and Temperature Tips for Beginners
If you’re new to caramelizing, start with a low flame and work your way up. It’s always easier to add more heat than to undo burnt sugar. Also, let the custard chill in the fridge before torching—this ensures the custard stays cool while the sugar caramelizes.
Secrets to Perfecting the Brûlée Topping Every Time
Mastering the perfect crème brûlée topping is like learning to ride a bike: it takes practice, but once you get it, you’ll never forget. The trick lies in consistency, precision, and a touch of creativity. Let’s explore how to get that flawless, crackly layer every time.
Actionable Tips for the Best Results
Ensuring Consistency in Caramelization
Getting a uniformly caramelized topping isn’t just about torching the sugar—it’s about preparation and technique. Here’s how to keep things consistent:
- Chill your custard thoroughly: A cold base ensures the sugar heats and caramelizes evenly without affecting the custard’s texture.
- Use fresh sugar for every brûlée: Any moisture in the sugar can lead to clumping and uneven caramelization.
- Work in small sections: Instead of torching the entire surface at once, focus on small areas and move the flame gradually.
Consistency doesn’t happen by accident—it’s the result of thoughtful, careful steps.
Avoiding Common Pitfalls (e.g., Burnt Sugar)
Even seasoned cooks can fall into these traps, so let’s address them head-on:
- Overloading with sugar: Too much sugar creates thick, uneven layers that are hard to caramelize. Stick to a thin, even coat.
- Torches held too close: Holding the torch too near the sugar can cause burning instead of caramelization. Keep at least 2 inches of distance.
- Skipping rotation: Failing to rotate your ramekin while torching can result in hot spots. Move the flame in small circles for even coverage.
Learning what not to do is just as important as knowing what works.
Advanced Techniques for Enthusiasts
Once you’ve nailed the basics, it’s time to step up your game. These advanced tricks will wow your guests and elevate your brûlée skills.
Experimenting with Flavored Sugars
Why stick to plain sugar when you can infuse it with exciting flavors? Here are some ideas:
- Vanilla Bean Sugar: Mix granulated sugar with scraped vanilla bean seeds for a subtle, aromatic twist.
- Citrus Zest Sugar: Add finely grated lemon or orange zest for a bright, tangy note.
- Spiced Sugar: Blend in a pinch of cinnamon, nutmeg, or cardamom for a warm, spiced flavor.
Flavored sugars not only taste amazing but also add a hint of sophistication to your brûlée.
To add a unique flavor profile to your brûlée, try coffee-infused sugars inspired by Instant Coffee Recipes, which can create a bold, aromatic twist
Incorporating Alcohol for Added Flair
A splash of alcohol can add complexity to your brûlée topping. Here’s how to do it:
- Before torching, sprinkle a few drops of liqueur (like Grand Marnier or Amaretto) over the sugar.
- Torch as usual—the alcohol will burn off, leaving behind its rich flavor.
Be careful not to use too much, as excess liquid can prevent the sugar from caramelizing properly.
Using Alternative Sweeteners
For those looking to reduce sugar or experiment with new flavors, alternative sweeteners can work wonders. Options like coconut sugar, honey, or maple sugar can offer unique twists. Keep in mind, though, that these may caramelize differently and require some trial and error.
Real-World Examples of Crème Brûlée Success
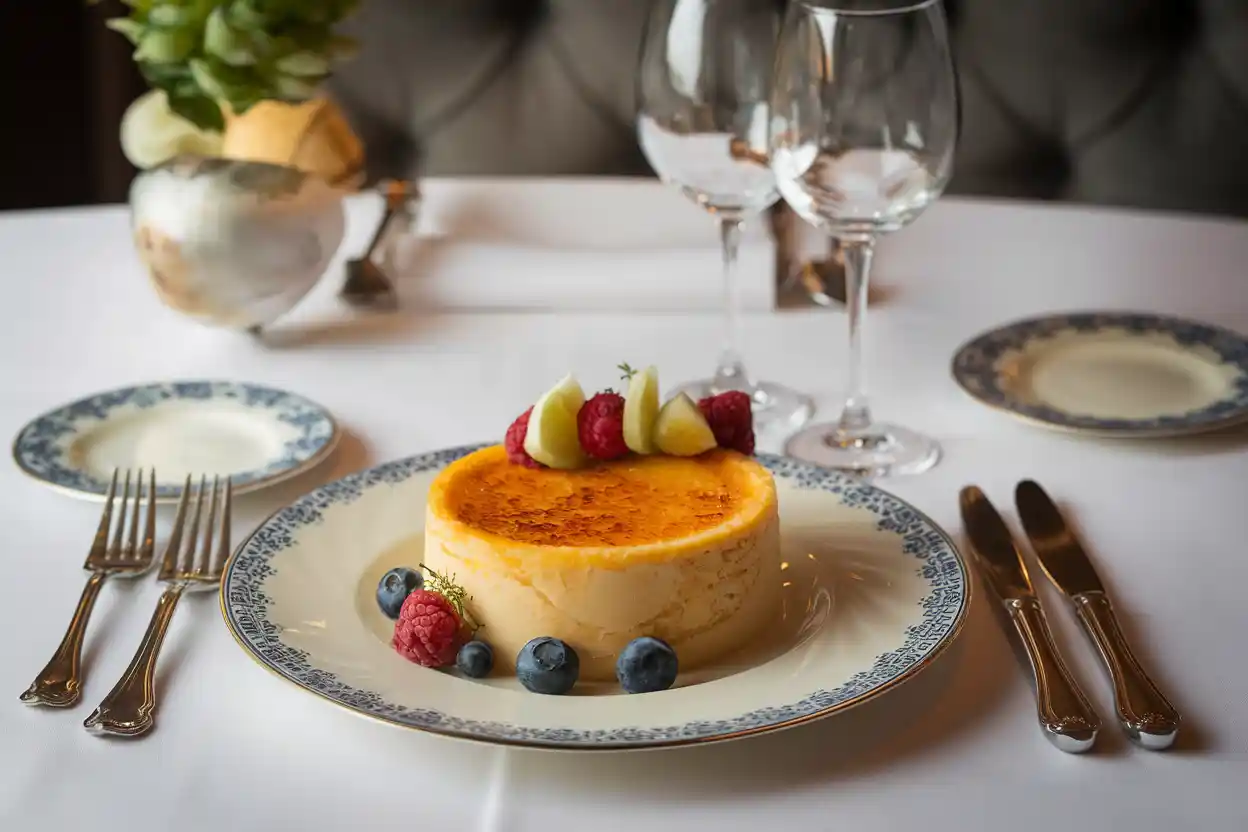
Professional Techniques from Renowned Chefs
Celebrity chefs have their own tricks for mastering the brûlée topping. Take Chef Thomas Keller, for example, who emphasizes the importance of superfine sugar for even melting. Or Chef Dominique Ansel, who’s known to use a hybrid method of torching and broiling for a perfect crust.
Another dessert to complement your crème brûlée is the Madeline Cookies Recipe Using Cream, offering a light and airy contrast
These pros prove that small tweaks in technique can yield game-changing results.
Adapting Techniques for Home Kitchens
Of course, not all professional tricks translate to the home kitchen. But you can still adapt their insights. For instance, instead of a salamander (a commercial broiling tool), you can use a high-quality kitchen torch for similar results. The key is to simplify complex methods without compromising on quality.
The Future of Crème Brûlée Innovations
Trends in Plating and Presentation
Crème brûlée isn’t just about taste—it’s a visual experience too. Modern chefs are exploring creative ways to plate and serve this classic dessert.
For more French-inspired desserts, explore this French Cruller Recipe that showcases creativity in both flavor and presentation
- Individual mini brûlées: Perfect for parties or tasting menus.
- Flavored layers: Adding a thin fruit or chocolate layer beneath the custard.
- Unconventional shapes: Using molds to create square or oval brûlées instead of the traditional round ramekin.
Presentation trends remind us that even timeless recipes can feel fresh and exciting with a little creativity.
Health-Conscious Alternatives for Toppings
As health trends evolve, so do brûlée variations. For a lighter take, some chefs are experimenting with:
- Natural sweeteners: Using agave or stevia for a reduced-calorie crust.
- Low-fat custards: Swapping heavy cream for plant-based alternatives like almond or oat milk.
If you’re experimenting with alternative sweeteners, you might enjoy trying this Pecan Cream Pie Recipe, which can also be made lighter
These options prove that crème brûlée can be indulgent and mindful of modern dietary preferences.
Wrapping Up the Crème Brûlée Journey
Mastering the art of crème brûlée topping is a journey—one that combines science, skill, and creativity. From understanding the role of sugar and tools to exploring advanced techniques and modern trends, there’s always something new to learn.
So, whether you’re torching your very first brûlée or refining your craft, remember this: the perfect topping isn’t just a goal; it’s an experience. Happy brûlée-ing!
FAQs About Perfecting Crème Brûlée
When it comes to mastering crème brûlée, a few common questions tend to pop up. Whether you’re troubleshooting a recipe or looking for tips to refine your technique, these answers will guide you toward that flawless dessert.
How to Get the Perfect Crème Brûlée Top?
Tips for an Even, Glassy Surface
To achieve that mirror-like crust, focus on evenly spreading a thin layer of sugar. Tilt the ramekin while sprinkling the sugar to cover every corner, and remove any excess to avoid clumping. Use a kitchen torch to melt the sugar in circular motions, ensuring consistent caramelization without burning any spots.
How to Avoid Overheating the Custard
A common issue is heating the custard while caramelizing the sugar. To prevent this, ensure the custard is chilled for at least 2–3 hours before torching. Additionally, keep the torch’s flame moving to avoid lingering heat in one area, which can overcook the top layer of the custard.
How to Make Brûlée Topping?
What Tools Do You Need?
A kitchen torch is your best bet for precise caramelization, but an oven broiler can work in a pinch. You’ll also need heat-resistant ramekins, a steady hand, and fine granulated sugar for the topping. Investing in a high-quality torch with adjustable flame settings can significantly improve your results.
Best Types of Sugar for Caramelization
Granulated sugar is ideal for beginners due to its even melting properties. For a richer flavor, try turbinado or demerara sugar, but be prepared for a slightly coarser texture. Avoid powdered sugar, as it tends to clump and doesn’t caramelize evenly.
What is the Secret to Crème Brûlée?
Combining Custard and Topping Flawlessly
The secret lies in the balance. The custard should be silky and set but not stiff, while the topping must provide a satisfying crunch without overpowering the creamy base. Achieving this harmony requires chilling the custard thoroughly and torching the sugar just enough to create a golden, crackly layer.
Using the Right Proportions of Sugar
Too much sugar can lead to an overly thick crust, while too little might not provide the satisfying crack you’re looking for. A tablespoon of sugar per ramekin is usually the sweet spot, offering just the right thickness for caramelization.
How Do You Make Crème Brûlée Hard on Top?
Ensuring Proper Caramelization
The key to a hard, glassy top is using enough heat to fully melt the sugar without scorching it. A steady, circular motion with your torch ensures even caramelization. If using a broiler, keep a close eye and rotate the ramekins frequently to avoid uneven heating.
Achieving the Perfect Thickness for the Sugar Layer
Thin layers of sugar work best for caramelization. Too thick, and the sugar may burn on the outside while remaining gritty underneath. Spread the sugar evenly across the surface, and tap out any excess before applying heat for a smooth, hard finish.
What Makes Crème Brûlée Unique Compared to Other Desserts?
The contrast of textures sets perfect crème brûlée topping apart. No other dessert combines the creamy, custard-like base with a crunchy, caramelized topping quite like this. Additionally, the dramatic torching process adds an element of theater to its preparation, making it a favorite for special occasions and dinner parties alike.

