You’re making crispy chicken cutlets, but the breading keeps falling off—what went wrong?
Breading chicken cutlets might seem simple, but getting that crispy, golden coating to stick can be tricky. If you’ve ever had your breading slide off mid-fry or end up patchy, you’re not alone. The order in which you bread your chicken plays a crucial role in achieving a perfectly crisp and evenly coated cutlet.Experimenting in the kitchen? Learn how to make bread flour cookies for a sweet treat after dinner.
Many home cooks have faced the frustration of peeling breading or a texture that just doesn’t quite match that of their favorite restaurant dish. The good news? There’s a tried-and-true method to achieving a flawless, crunchy crust that won’t disappoint. Whether you’re making chicken Parmesan, crispy schnitzel, or a classic breaded chicken cutlet, following the correct steps can make all the difference.
Why This Question Matters
If you want that irresistible crunch and restaurant-quality texture, understanding the proper breading technique is key. A well-breaded chicken cutlet ensures:
- A crispy, golden-brown crust that stays intact
- Even cooking and better flavor absorption
- A professional, picture-perfect finish
Many people think that the breading process is just about sticking some crumbs onto a piece of chicken, but there’s actually a bit of food science at play. Skipping or switching up the order of breading can lead to a coating that doesn’t adhere well, absorbs too much oil, or falls off entirely when cooking.
The Most Common Breading Mistakes
If you’ve ever had a failed attempt at breading, you’re not alone! Here are some of the most common mistakes home cooks make:
- Skipping the flour step – Without a dry base, the egg wash won’t stick properly to the chicken.
- Not patting the chicken dry – Excess moisture prevents proper adhesion, leading to uneven breading.
- Applying too much or too little flour – A light, even dusting of flour creates the perfect surface for the egg to cling to.
- Not pressing the breadcrumbs firmly – Without pressure, the coating may not adhere well, leading to it falling off during frying.
By understanding what not to do, you can ensure that your chicken cutlets come out perfectly crisp and evenly coated every time.
So, What’s the Right Order?
The short answer: Always flour first, then egg, then breadcrumbs. Let’s break it down:
- Flour First: This step coats the chicken in a light layer of starch, which absorbs moisture and provides a dry surface for the egg to adhere to.
- Egg Wash Next: The beaten egg acts as a glue, binding the breadcrumbs to the chicken. It also adds structure when cooked, helping to form that delicious crispy crust.
- Breadcrumbs Last: Whether you use panko, traditional breadcrumbs, or even crushed crackers, this final layer adds crunch and flavor to your chicken cutlets.
By following this simple sequence, you’ll achieve a golden, crispy cutlet that holds onto its breading perfectly.
Why You’ll Love This Guide
Following the correct breading process means you can:
- Avoid soggy or peeling breading
- Achieve a crispy, flavorful crust every time
- Understand the science behind each step for foolproof results
- Impress your family and friends with restaurant-quality chicken cutlets at home
Plus, once you master this method, you can apply it to a variety of dishes beyond chicken. Try it with eggplant for a delicious eggplant Parmesan, or use it to coat fish fillets for a crispy, flaky seafood dish. The possibilities are endless!
Ready to Take Your Chicken Cutlets to the Next Level?
Now that you know why the order of breading matters, it’s time to put it into practice. In the next section, we’ll break down the science behind each step so you can understand exactly why this method works. Let’s get cooking!Looking for unique variations? Explore these chicken cutlet recipe ideas for fresh takes on this classic dish.
Do You Put Egg or Flour in Chicken Cutlets First? The Science Explained
Why Flour Comes First (It’s Not Just Tradition!)
Think of flour as the “primer” for your chicken cutlets. Here’s why skipping it is a rookie mistake:
- Sucks Up Moisture: Chicken’s natural surface dampness makes coatings slide right off. Flour acts like a sponge, creating a dry base.
- Creates Grip: Ever tried sticking tape to a dusty surface? Flour adds tiny bumps for the egg to cling to.
- Even Cooking: A light flour layer prevents oil from soaking into the chicken, keeping it juicy inside and crispy outside.
Choosing Your Flour (It Matters!)
| Flour Type | Best For | Texture |
|---|---|---|
| All-Purpose | Classic crunch | Neutral, crispy |
| Cornstarch | Extra-crispy fans | Light, airy |
| Rice Flour | Gluten-free kitchens | Delicate crunch |
| Whole Wheat | Nutty flavor lovers | Denser, hearty |
Why Egg is the Glue That Holds It All Together
After flour, egg wash is your secret weapon for breading that stays put:
- Sticky Superhero: Egg proteins bind flour and breadcrumbs like edible glue.
- Golden Magic: Fats in the yolk crisp up beautifully in the pan.
- Customizable: Mix in milk for tenderness or hot sauce for a kick!
Breadcrumbs 101: Crunch Factor Unleashed
The final layer is where personality shines:
- Panko: Light, craggy, and ultra-crispy (my fave for Japanese katsu!).
- Regular Breadcrumbs: Reliable, even crunch for classics like chicken Parm.
- Crushed Chips: Try salt-and-vinegar chips for a tangy twist!
Want more ideas for serving chicken cutlets? Check out what is good with chicken cutlets for inspiration!
The Right Way to Bread Chicken Cutlets: Flour, Egg, or Bust!
Breading chicken cutlets might seem straightforward, but nailing the technique requires a few pro secrets. Let’s break down the process so you can achieve that golden, crispy perfection every time—no more flaky breading or soggy disasters!
Step 1: Prep the Chicken (Because Good Breading Starts Here)
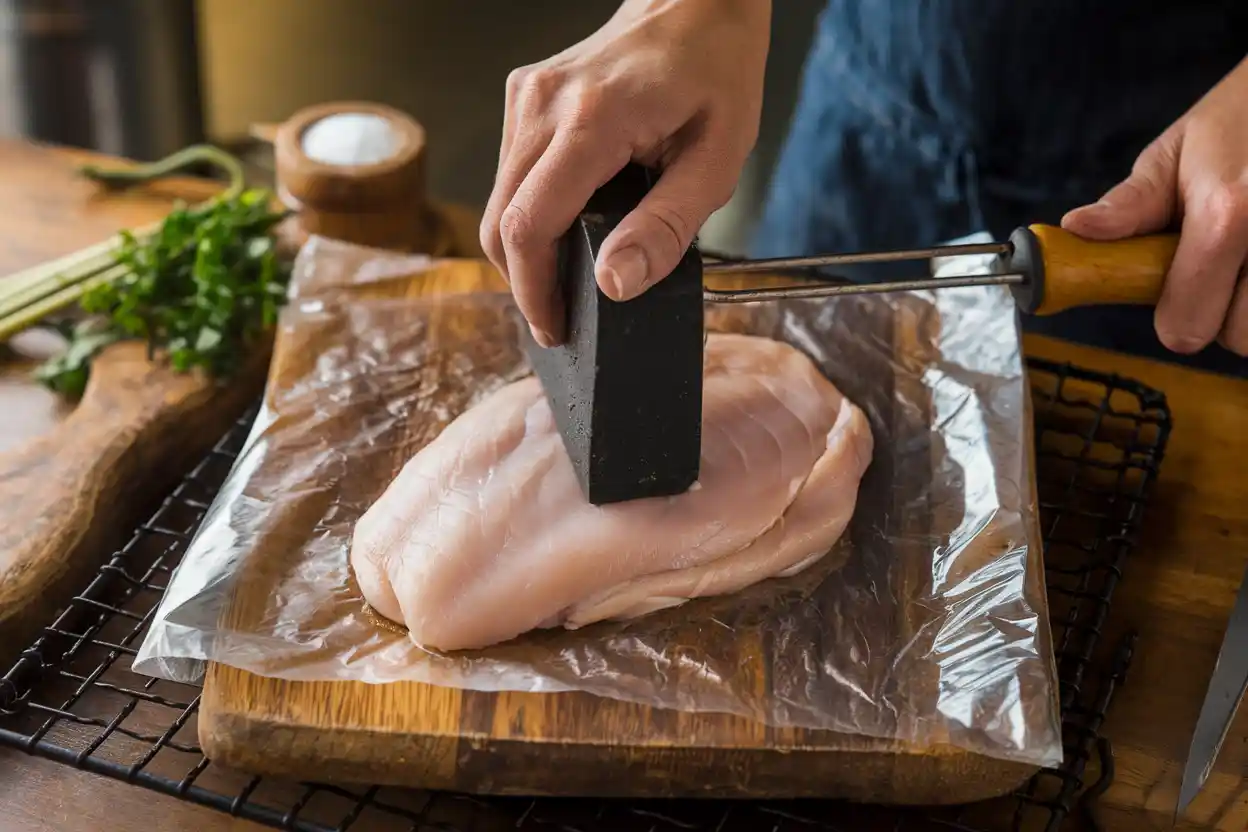
Before diving into flour and eggs, prep your chicken like a pro. First, pound those cutlets to an even ¼-inch thickness using a meat mallet. Why? Uneven chicken cooks unevenly, leaving you with dry spots or raw centers. Next, grab paper towels and pat the cutlets bone-dry. Moisture is the enemy of crispy breading—it’ll make the coating slide right off. Finally, season generously. Salt and pepper are non-negotiable, but don’t stop there: garlic powder, smoked paprika, or a pinch of Italian seasoning add layers of flavor that’ll make your taste buds sing.

Step 2: The Flour-Egg-Breadcrumb Sequence (Yes, Order Matters!)
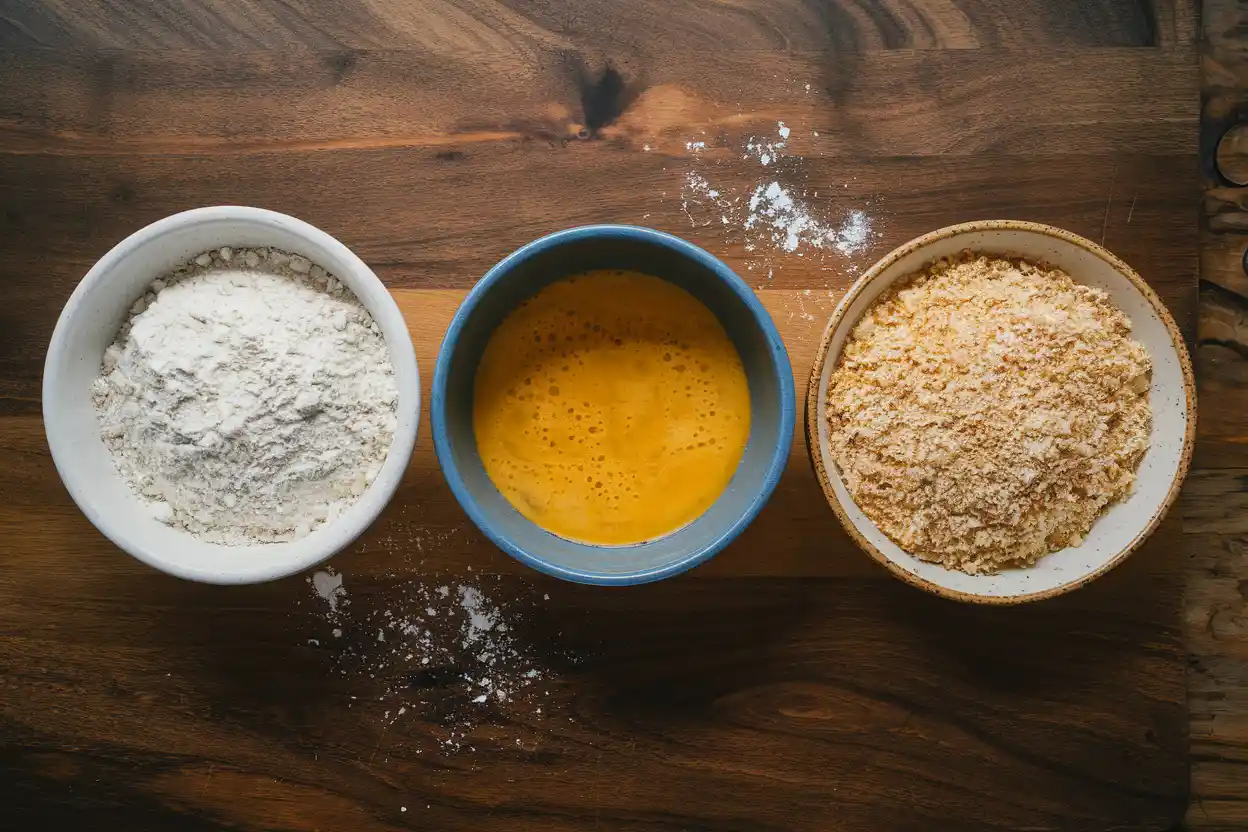
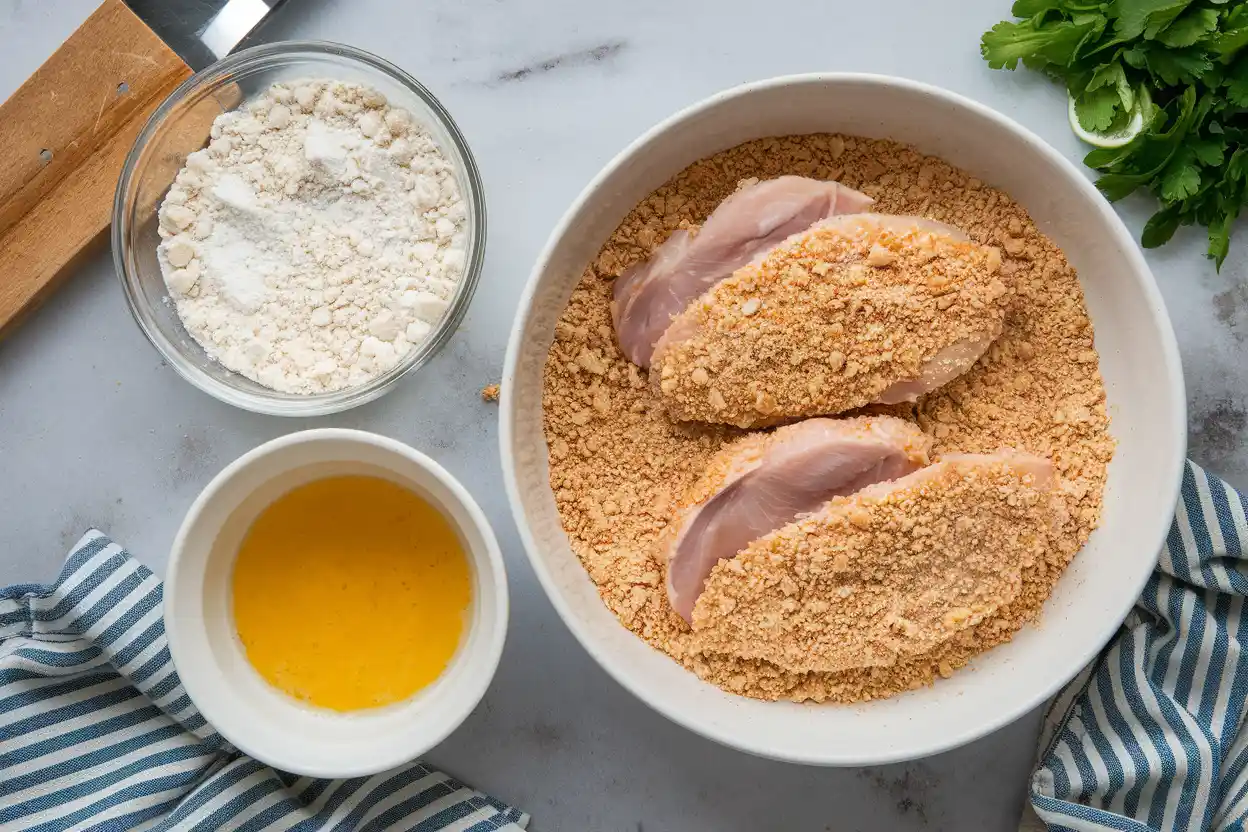
Here’s the golden rule: flour first, egg second, breadcrumbs last. Skipping this order is like building a house without a foundation—it’ll crumble. Start by dredging the chicken in seasoned flour, shaking off the excess. This step isn’t just about tradition; it soaks up lingering moisture and creates a gritty surface for the egg to grip. Next, dip the floured cutlets into a beaten egg wash. Think of the egg as edible glue—it binds the flour to the breadcrumbs. For extra richness, whisk in a splash of milk or a dollop of Dijon mustard. Finally, press the chicken firmly into your breadcrumbs. Panko? Classic breadcrumbs? Crushed cornflakes? Whatever you choose, press hard to ensure every inch is coated.

Pro Tips for Crispy, Foolproof Breading
- Hands-On Hack: Use one hand for dry ingredients (flour, breadcrumbs) and the other for wet (egg). Your fingers will thank you for avoiding the dreaded “breading clump.”
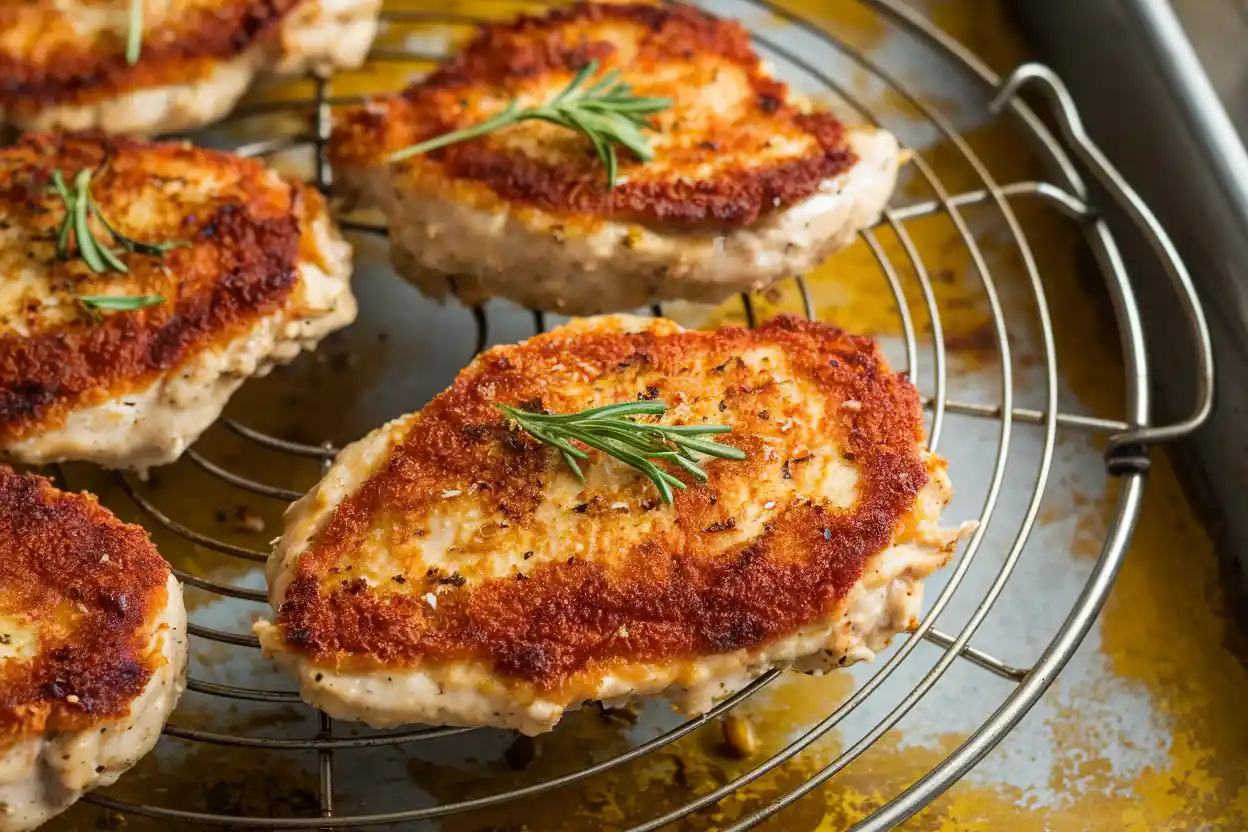
- Rest Time: Let breaded cutlets sit on a wire rack for 10 minutes before frying. This gives the coating time to set, so it won’t slide off in the pan.
- Double Dip: Want extra crunch? After the first breading, dip the cutlets back into the egg and breadcrumbs for a second layer.
Common Mistakes (And How to Dodge Them)
- Skipping Flour: Without it, the egg has nothing to cling to, and your breading will fall off faster than a toddler’s spaghetti.
- Gentle Pressing: Breadcrumbs need pressure! Use your palms to press them into the chicken—no timid taps allowed.
- Crowded Pan: Frying too many cutlets at once drops the oil temperature, leaving you with greasy, soggy breading. Work in batches for crispy results.
By mastering these steps, you’ll transform humble chicken cutlets into crispy, restaurant-worthy showstoppers. Now, go forth and bread with confidence!

The Best Way to Cook Breaded Chicken Cutlets
Pan-Frying vs. Baking vs. Air-Frying
Once your chicken cutlets are perfectly breaded, it’s time to cook them to crispy perfection. The method you choose will affect the texture, flavor, and overall crispiness of the cutlets.
Pan-Frying: The Crispiest Option
Pan-frying is the classic method for achieving a golden-brown crust with maximum crunch.
- How to Pan-Fry:
- Heat about ¼ inch of oil in a skillet over medium heat until it reaches 350°F (175°C).
- Carefully place the breaded cutlets in the pan, ensuring they don’t overlap.
- Cook for 3–4 minutes per side, or until golden brown and fully cooked.
- Transfer to a paper towel-lined plate or wire rack to drain excess oil.
✅ Pros: Ultra-crispy texture, restaurant-quality results ❌ Cons: Uses more oil, requires careful monitoring
Baking: A Healthier Alternative
Baking is a great option if you prefer a lighter version of breaded chicken without sacrificing too much crispiness.
- How to Bake:
- Preheat oven to 425°F (220°C).
- Lightly grease a baking sheet and arrange the cutlets in a single layer.
- Spray or lightly drizzle oil over the tops for crispiness.
- Bake for 15–20 minutes, flipping halfway through, until golden brown and cooked through.
✅ Pros: Uses less oil, hands-free cooking ❌ Cons: Slightly less crispy than frying
Air-Frying: The Best of Both Worlds
Air-frying delivers a crispy crust with minimal oil, making it an excellent balance between health and texture.
- How to Air-Fry:
- Preheat air fryer to 400°F (200°C).
- Lightly spray the basket with oil and arrange cutlets in a single layer.
- Cook for 8–10 minutes, flipping halfway through, until crispy and golden.
✅ Pros: Crispy texture with minimal oil, quick cooking ❌ Cons: Requires an air fryer, may not hold as much chicken at once
How to Know When It’s Done
Regardless of the cooking method, your chicken cutlets should reach an internal temperature of 165°F (75°C). Use a meat thermometer for accuracy. The crust should be golden-brown, and the chicken should feel firm to the touch.
Serving Ideas & Pairings
Pair your crispy chicken cutlets with these delicious sides and sauces:
Classic Side Dishes
- Mashed potatoes and roasted vegetables
- Light coleslaw or fresh garden salad
- Garlic butter pasta or rice pilaf
Best Sauces for Chicken Cutlets
- Lemon Butter Sauce – A zesty, rich complement
- Marinara Sauce – Perfect for an Italian-style meal
- Honey Mustard – A tangy-sweet dipping option
By choosing the right cooking method and serving accompaniments, you can create a meal that’s both delicious and satisfying!
FAQs
When it comes to breading chicken cutlets, there are plenty of questions that pop up—especially for first-timers. Below, we’ve answered some of the most common ones to help you master this beloved dish.
Do you put egg or flour on chicken first?
The short answer: flour goes first. Here’s why.
Why is the Sequence Important?
The sequence of flour, egg, and breadcrumbs ensures the breading sticks properly. Starting with flour creates a dry, even surface for the egg to adhere to. If you start with egg, it slides off the wet chicken, and breadcrumbs won’t stick well, leading to uneven coating.
Common Mistakes When Starting with Egg or Flour
One common mistake is skipping the flour entirely. Without it, the breading won’t hold up during frying, resulting in patchy, soggy spots. Another issue? Not shaking off excess flour before dipping in egg, which can create clumps.
What goes first, flour or egg?
Always start with flour, then egg—it’s the golden rule of breading.
Step-by-Step Guide to Breading Chicken Cutlets
- Pat chicken dry and coat it lightly with seasoned flour.
- Dip it into a whisked egg mixture, ensuring full coverage.
- Press the chicken into breadcrumbs until evenly coated.
Key Benefits of the Recommended Sequence
Following this order not only ensures a crisp, golden crust but also helps lock in the chicken’s natural juices. Skipping or reversing steps compromises the texture and taste.
Why do you dip chicken in egg before flour?
Actually, you don’t! The egg comes after the flour for a reason.
The Role of Egg as an Adhesive Layer
The egg acts as the binding agent between the flour and breadcrumbs. Without a layer of flour, the egg has nothing to grip, and the breadcrumbs won’t stick properly.
How Flour Prepares the Surface for Egg Coating
Flour dries the chicken’s surface, creating the perfect base for the egg. This small but essential step ensures the layers adhere seamlessly.
Should you flour chicken cutlets before frying?
Yes, flour is a must before frying—it’s the foundation of the breading process.
The Importance of Flour in the Frying Process
Flour isn’t just a formality; it plays a crucial role in achieving that crispy exterior. It absorbs moisture from the chicken’s surface, allowing the egg and breadcrumbs to form a cohesive layer.
Alternatives to Flour for Coating Chicken
If you’re looking for alternatives, cornstarch, rice flour, or almond flour can work well. These options are particularly great for gluten-free diets and create an equally satisfying crust.
Final Tips for Success
- Always set up your breading station in the proper order: flour, egg, and breadcrumbs.
- Patience is key—let the coated chicken rest for a few minutes before frying to help the breading adhere.
- Experiment with different breadcrumb blends to find your perfect flavor and texture.

Do You Put Egg or Flour First When Making Chicken Cutlets? A Step-by-Step Guide to Perfect Breading
- Total Time: 25 minutes
- Yield: 4 servings
- Diet: Low Lactose
Description
Golden, crunchy, and perfectly seasoned, these crispy chicken cutlets are an irresistible dinner option. Whether served on their own, in a sandwich, or over a salad, they bring restaurant-quality crunch to your home kitchen.
Ingredients
-
2 boneless, skinless chicken breasts, halved and pounded to 1/4-inch thickness
-
1 cup all-purpose flour
-
2 large eggs
-
1 tablespoon milk (optional, for egg wash)
-
1 1/2 cups breadcrumbs (panko or regular)
-
1 teaspoon salt
-
1/2 teaspoon black pepper
-
1/2 teaspoon garlic powder
-
1/2 teaspoon smoked paprika
-
1/4 cup grated Parmesan cheese (optional, for extra flavor)
-
1/2 cup vegetable oil (for frying)
Instructions
-
Prepare the chicken by pounding it to an even thickness using a meat mallet. Pat dry with paper towels and season with salt and pepper.
-
Set up a breading station with three shallow bowls: one with flour, one with whisked eggs (mixed with milk, if using), and one with breadcrumbs, garlic powder, smoked paprika, and Parmesan.
-
Dredge each chicken cutlet in the flour, ensuring a light, even coating. Shake off excess.
-
Dip the floured chicken into the egg wash, making sure it’s fully coated.
-
Press the chicken firmly into the breadcrumb mixture, coating both sides thoroughly.
-
Let the breaded chicken rest on a wire rack for 10 minutes to help the coating set.
-
Heat oil in a large skillet over medium heat until shimmering (about 350°F/175°C).
-
Fry the cutlets in batches for 3-4 minutes per side, or until golden brown and cooked through (internal temperature of 165°F/75°C).
-
Transfer to a paper towel-lined plate to drain excess oil.
-
Serve immediately with your favorite sides or dipping sauces.
Notes
- For extra crispy cutlets, double dip by repeating the egg and breadcrumb steps
- Resting the breaded chicken before frying prevents the coating from falling off
- For a healthier option, bake at 425°F (220°C) for 15-20 minutes, flipping halfway through
- Air-fry at 400°F (200°C) for 8-10 minutes, flipping halfway through.
- Prep Time: 15 minutes
- Cook Time: 10 minutes
- Category: Dinner
- Method: Frying
- Cuisine: American
Nutrition
- Calories: 380 kcal
- Sugar: 1 g
- Sodium: 600 mg
- Fat: 18 g
- Saturated Fat: 3 g
- Unsaturated Fat: 10 g
- Carbohydrates: 30 g
- Fiber: 2 g
- Protein: 28 g
- Cholesterol: 120 mg
Keywords: Calories: Sugar: Sodium: Fat: Saturated Fat: Unsaturated Fat: Carbohydrates: Fiber: Protein: Cholesterol:

